Categories

How to add Organization Schema to Webflow [with examples]

SEO, CTR, visibility
- Earn eligibility for rich results and knowledge panels; clearer brand identity in SERP.
- Potential CTR lift when rich results appear.
- Implement site-wide Organization schema with name, url, logo, sameAs, and contactPoint; validate in Rich Results Test.
LLMO / AIO
- Help models resolve your brand correctly (right homepage, logo, facts).
- Use legalName, ImageObject logo, authoritative sameAs, and consistent naming across profiles.
- Fewer misattributions and higher chance AI Overviews reference your site.
What is Organization schema?
Organization schema helps search engines and LLMs understand who owns your site. It supports rich results, can lift CTR when shown, and improves AI visibility without changing your design.
Why add Organization schema to your Webflow site?
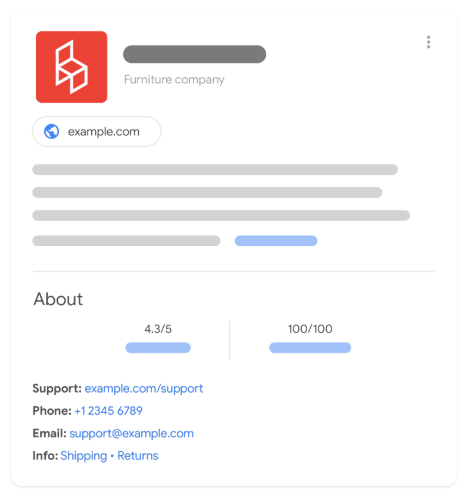
1) Get Merchant knowledge rich search result panel in Google SERP
The Merchant knowledge panel is the brand card (rich search result) Google may show in search for your Webflow website. It can display your logo, site link, short “About,” ratings, and customer support details like phone, email, and links to Shipping and Returns. To maximize eligibility, keep your entity signals clean and consistent: add Organization schema (name, url, logo, sameAs) plus contactPoint, publish clear support pages (support, contact, shipping, returns), and include MerchantReturnPolicy where applicable. Appearance is never guaranteed, but these steps give Google the strongest inputs to build that panel.
2) Improve LLM and AI Overview visibility
Organization schema helps language models and AI Overviews resolve your brand as a single, trusted entity. By declaring name, legalName, url, logo as an ImageObject, and authoritative sameAs links, models can pick the correct homepage, icon, and facts in answers. Adding contactPoint and clear support pages gives them concrete, verifiable details. Keep names and URLs consistent across site and profiles. This reduces wrong attributions and increases the chance AI summaries reference your site.
How to install Organization schema to Webflow (with examples)?
1) Install Schema Flow
- Open your Webflow project.
- Install the Schema Flow app from the Webflow Marketplace.
- Launch Schema Flow inside the project.

2) Locate pages and add Organization
- In Schema Flow, open the page list.
- For the homepage or any page where you want Organization data, click Add.
- If your workflow supports it, apply Organization once at site level or on the homepage rather than every CMS item.
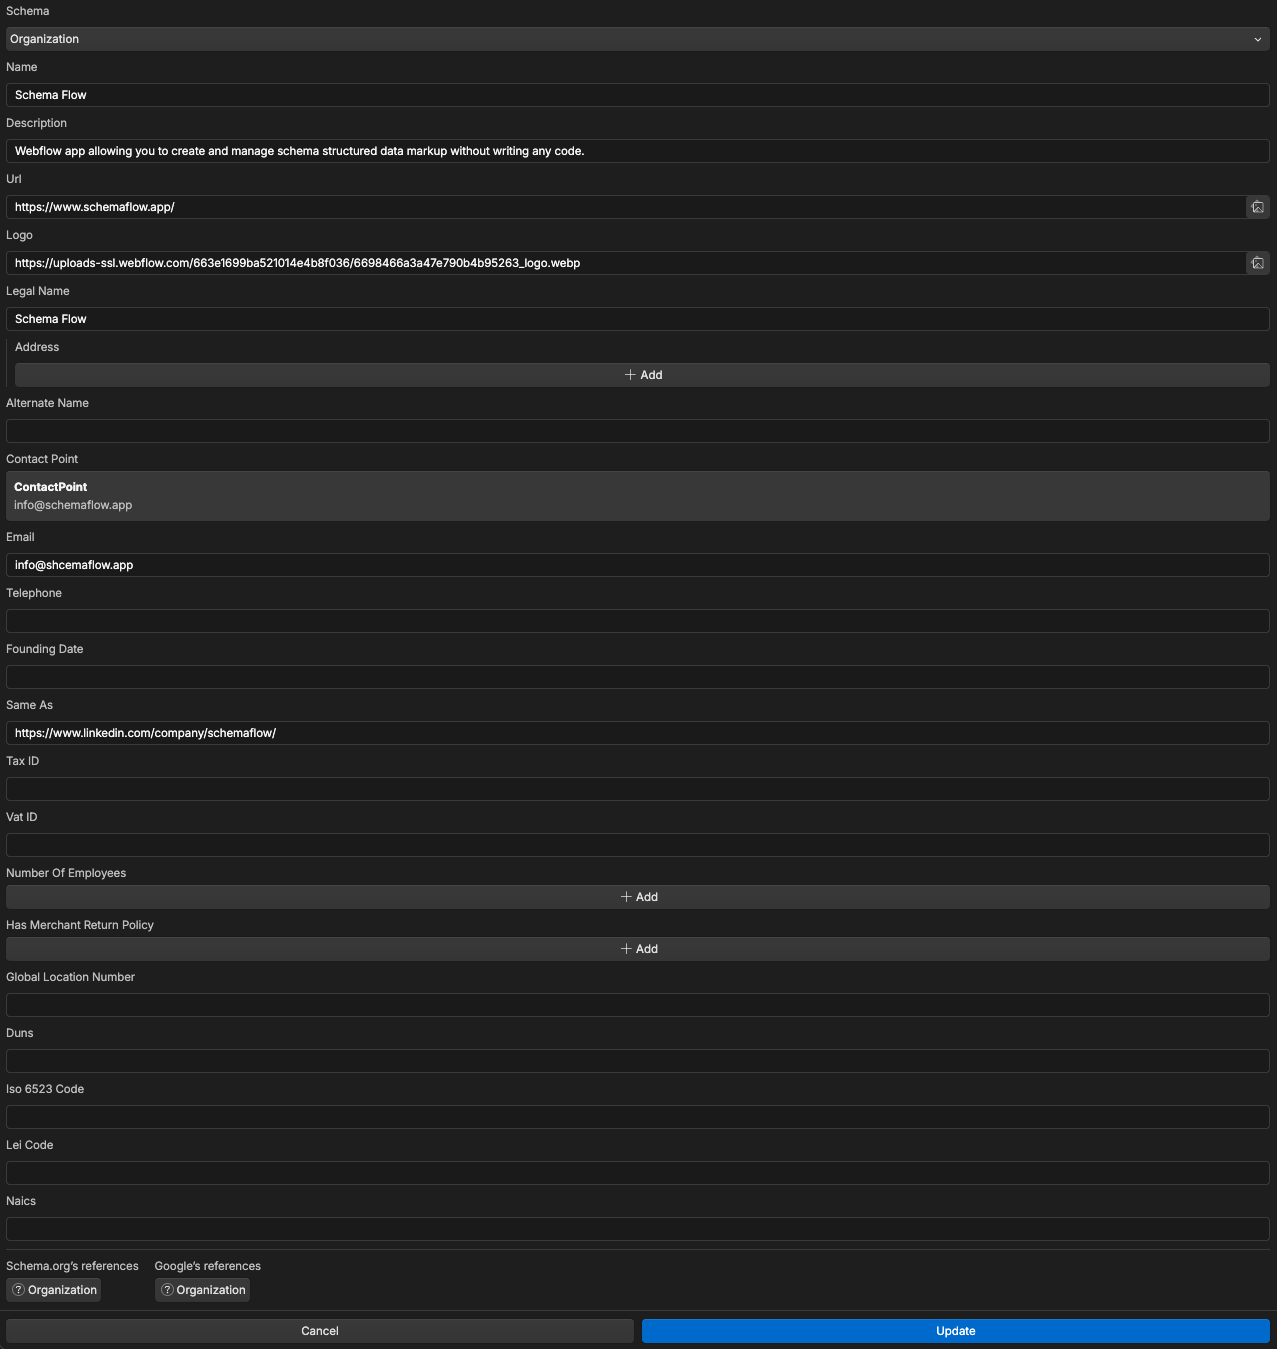
3) Fill the form or use Prefill with AI
You can complete fields manually or click Prefill with AI, then review. Fields available in the Organization form:
Identity
- Name
- Legal name
- Description
- URL
- Logo
Profiles and links
- SameAs (official profiles such as LinkedIn, X, YouTube)
- Has merchant return policy (link)
Contacts
- Telephone
- ContactPoint
- Telephone
Business details
- Founding date
- Number of employees
- Tax ID
- VAT ID
- Global Location Number
- DUNS
- ISO 6523 code
- LEI code
- NAICS
Address
- Address (optional; add if relevant)
References
- Schema.org references
- Google’s references
Tip: keep SameAs limited to verified, public profiles and use your primary brand logo asset.
4) Check and publish
- Use the Code preview panel to confirm the generated JSON-LD looks correct.
- Publish your Webflow site.
- Validate the page in Google’s Rich Results Test.
- After indexing, review Search Console Enhancements to confirm detection.

